
How to add an email signature to Apple Mail
With a ReviewForest email signature, every email you send links to your review forest. Here’s how to create it in the app and add it to Apple Mail on your Mac.
1. Create and copy your signature
Section titled “1. Create and copy your signature”-
Log in and open Review invitations under Marketing in the menu on the left. On the Email signature card, click Install email signature.
-
Click Create email signature. If a short explanation appears first, click Try it now. If you already have a signature, click New email signature at the top right, or click the copy icon next to an existing signature in the list and skip to part 2.
-
Choose a template (Graphic, Illustrated or Minimal) and the language. For a German signature you also choose between Formal and Informal address. Under Add dynamic content you can show your review score or your number of planted trees in the signature, except on older plans.
-
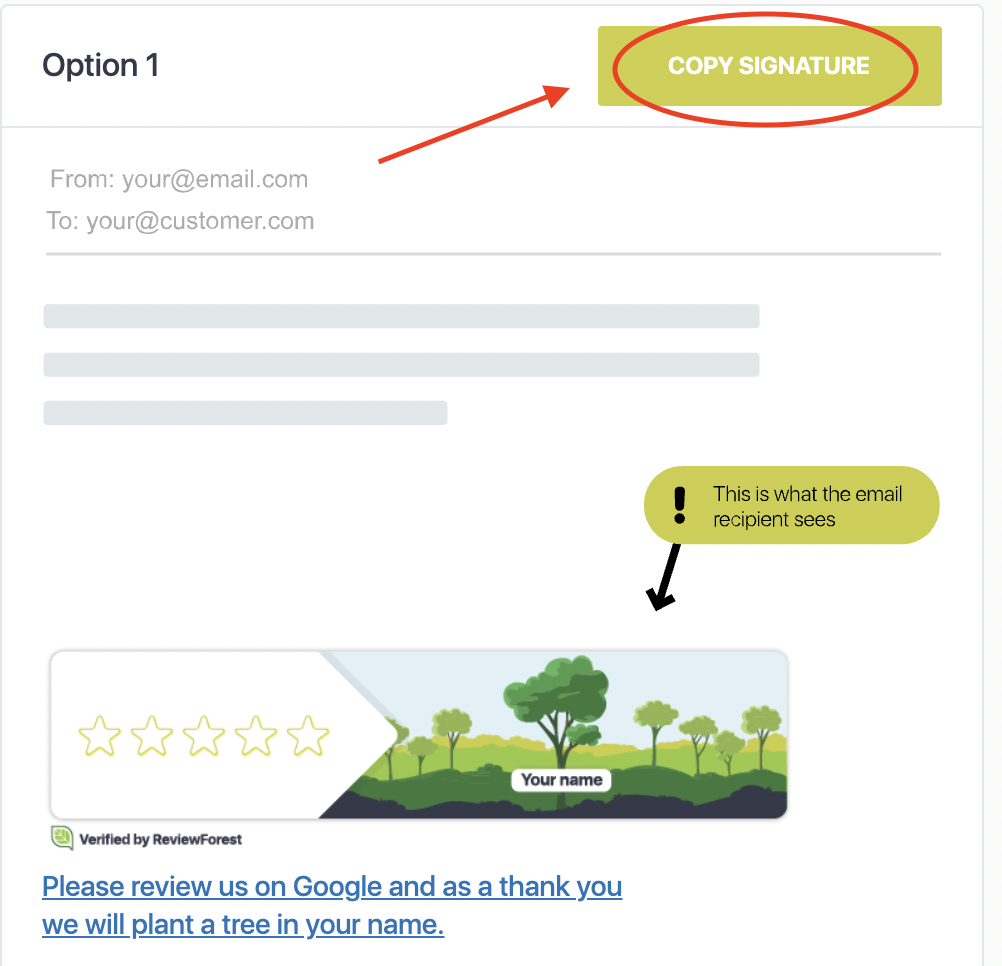
Click Copy & save signature. The signature is now on your clipboard and saved in your list.
2. Add the signature to Apple Mail
Section titled “2. Add the signature to Apple Mail”-
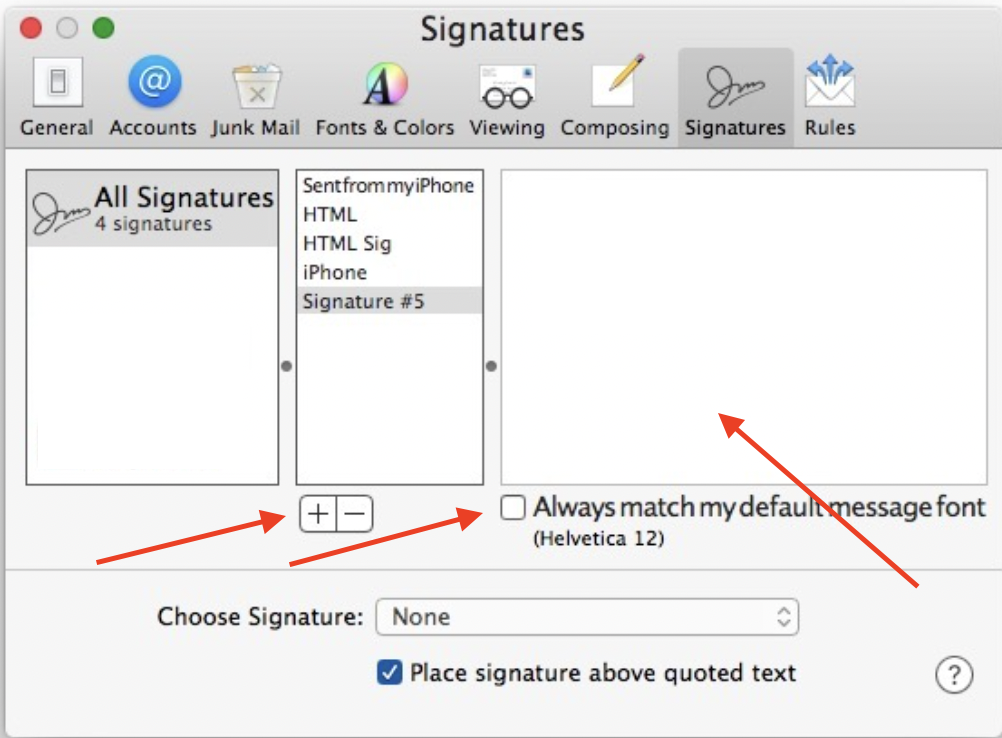
Open Mail and choose Mail → Settings in the menu bar. On older versions of macOS it’s called Preferences.
-
Click Signatures.
-
In the left column, select the email account the signature is for.
-
Click the plus button (+) below the middle column and enter a name for the signature.
-
Below the right column, untick Always match my default message font.
-
Click into the right column and paste your signature with Cmd+V.
-
In the Choose Signature dropdown below the columns, choose the new signature so Mail adds it to every email.
Write yourself a test email to check how the signature looks.